If you’re a self-published author like me, getting print books is a daunting task. Digital only books are tough to promote and sell. Having a professional company print and bind books for you is expensive, believe me, I looked into it. Prices range from about $6 to $15 dollars per book, ouch! So I searched online, got a lot of help from www.diybookbinding.com, and after a lot of trial and error, I’ve refined my book binding process to make legitimate paperback books from home for only about $3 per book. I won’t lie to you, it’s not an easy process, but I do it because I feel that the old ways are worth keeping alive. Also I’ll be damned if I’m gonna let my books be lost to obscurity in some digital archive, or sold off to some “independent publisher” who just wants to screw me over and cash in on my stories.
Note to all aspiring authors: None of what you want is impossible. With today’s resources, you DO NOT need a publisher, or an agent. So don’t give up. When there’s a will, there’s a way.
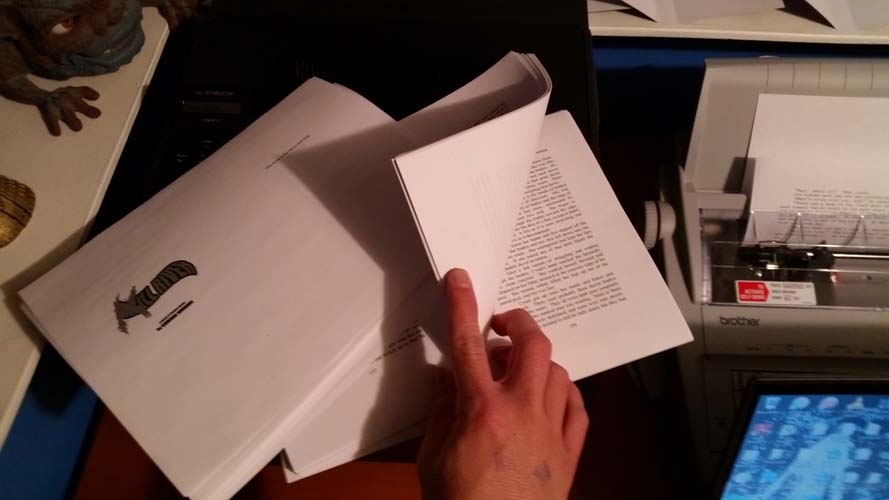
 1.1 Extra Wide Margins
Step 1: Sizing
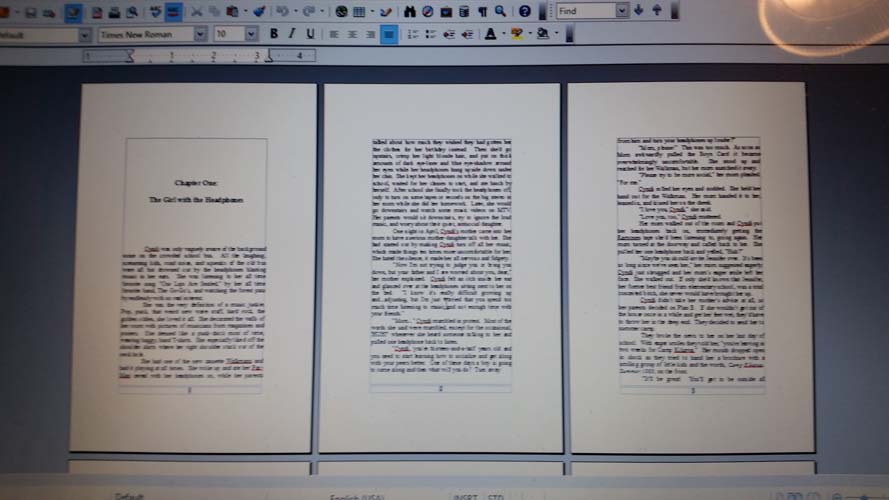
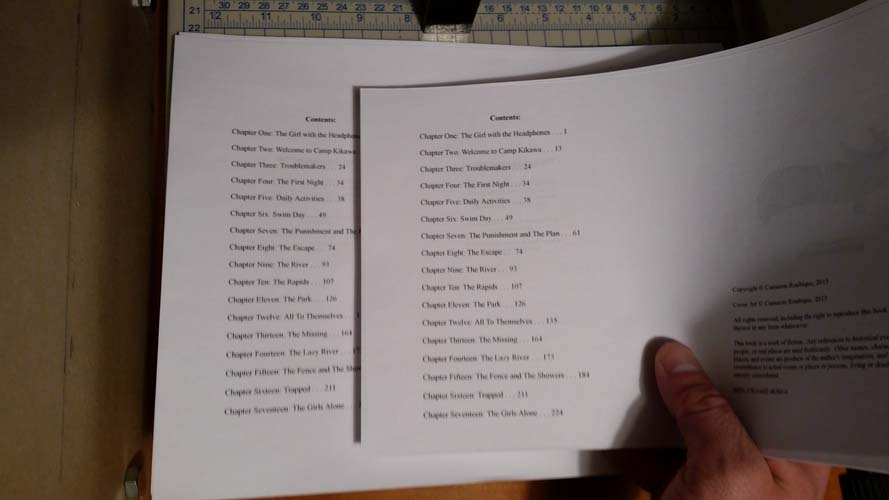
First, I take my manuscript and size the margins up to fit a 4 1/8 by 6 ¾ book, the traditional paperback size. Then I printed out one copy and measured how thick the stack of paper was. This gave me the measurement I needed for the width of the spine when doing my cover design. Also I keep the text on Justified format instead of Left Aligned. Most every professional paperback is in Justified format.
2.1 Folding the Covers
2.2 Priming the Spine with Rubber Cement
Step 2: The Cover
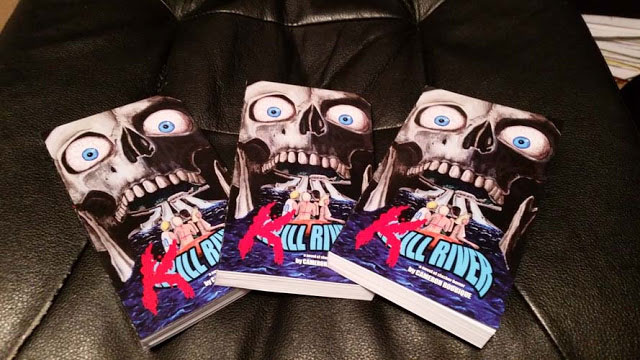
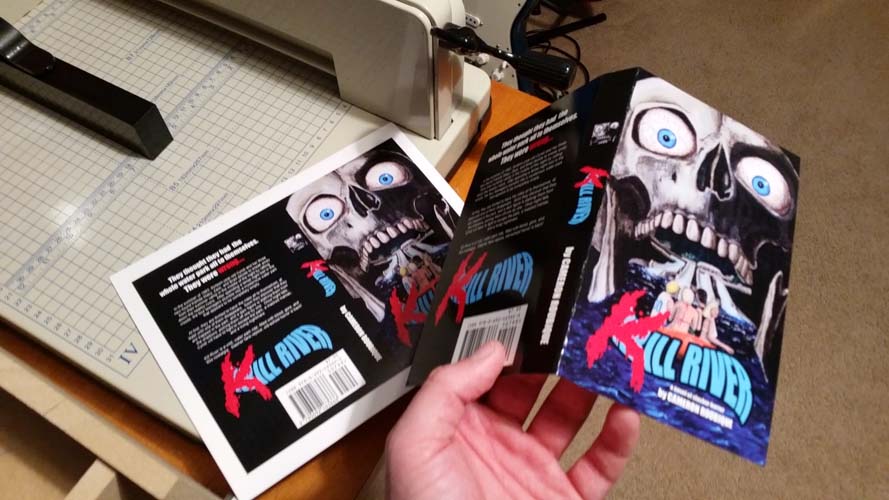
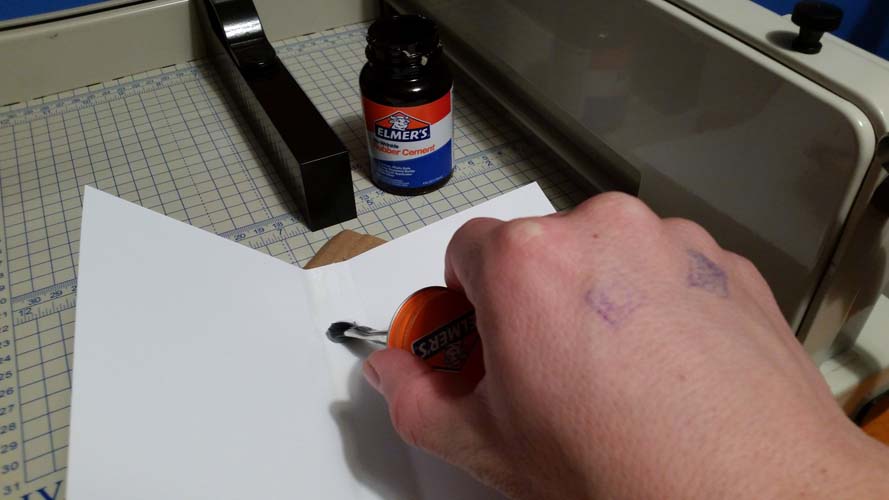
I designed my cover on photoshop. I tried printing covers myself at first but found that it was more cost effective to have a company do it for me. I went through www.printforless.com , they’re great! I had 200 covers printed out with a special UV coating that gives it the glossy professional paperback shine. This only costs about $1 per cover, a pretty good deal. This is the only part of the process I contracted out to another company. Then I fold the edges, and put a rubber cement base down on the spine. This makes it so that the glue doesn’t warp your spine and make it look all bubbly.
3.1 Printing the Front Sides
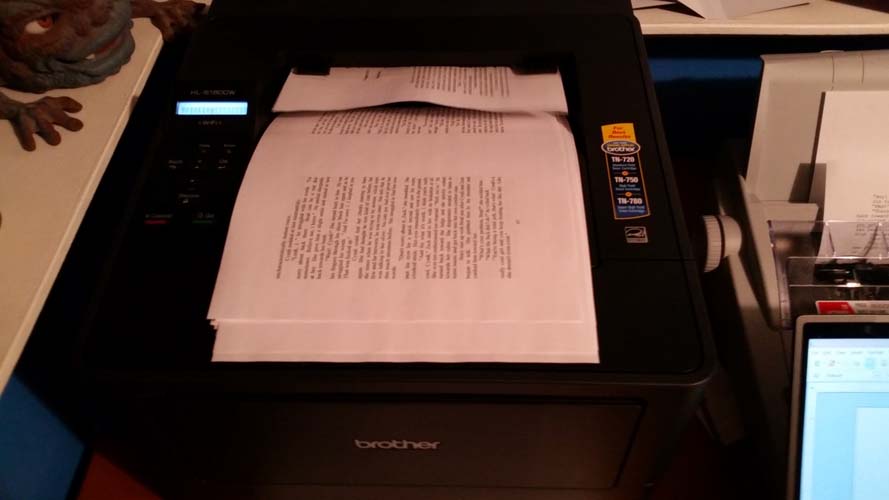
3.2 Printing
3.3 Printing the Back Sides
Step 3: Printing the Pages
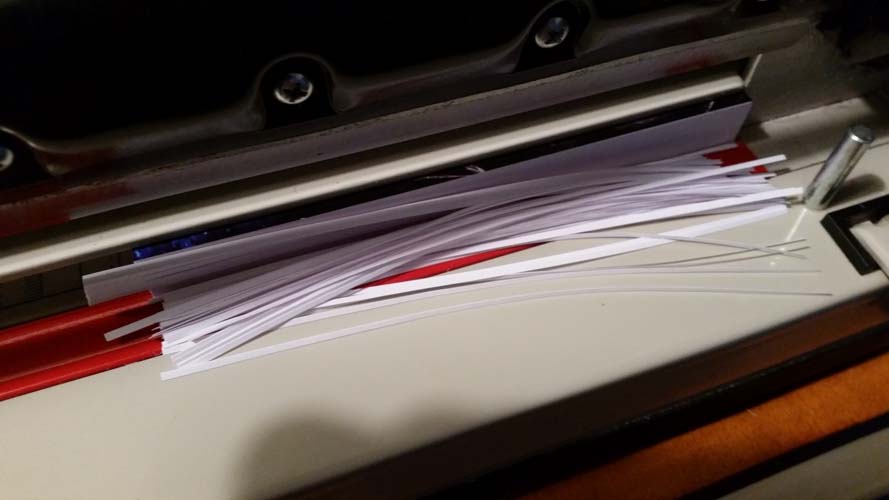
I bought a high volume all black and white Brother laser printer from amazon.com and I love it. This was my most expensive up front cost (about $300) but it was worth every penny. On a high volume toner cartridge, which costs about $107, I can print out about 75 copies of my 350 page book. First I print the front sides, all the odd pages. Then I flip the pages over and print all the even sides on the backs. Note: I print four pages for each sheet of paper: two pages on each side. The front side is printed Left to Right for odd pages only. Then for the back sides I change the printing format from Left to Right, to Right to Left and print even pages only so that the pages match up on both sides.
4.1 Cutting the Tops & Bottoms
4.2 Trimmed Tops & Bottoms
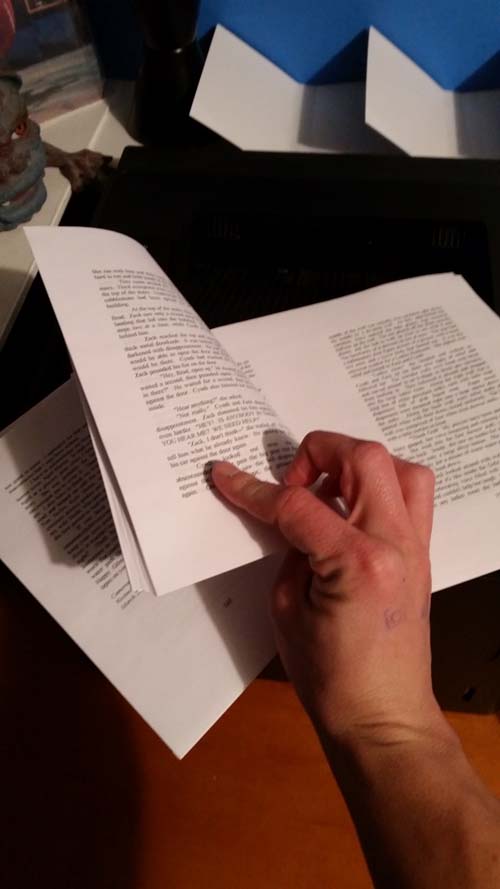
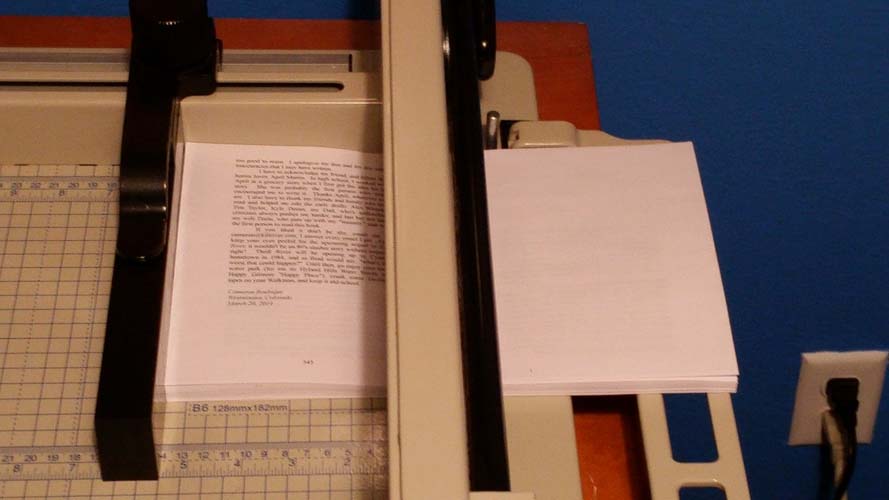
Step 4: Cutting
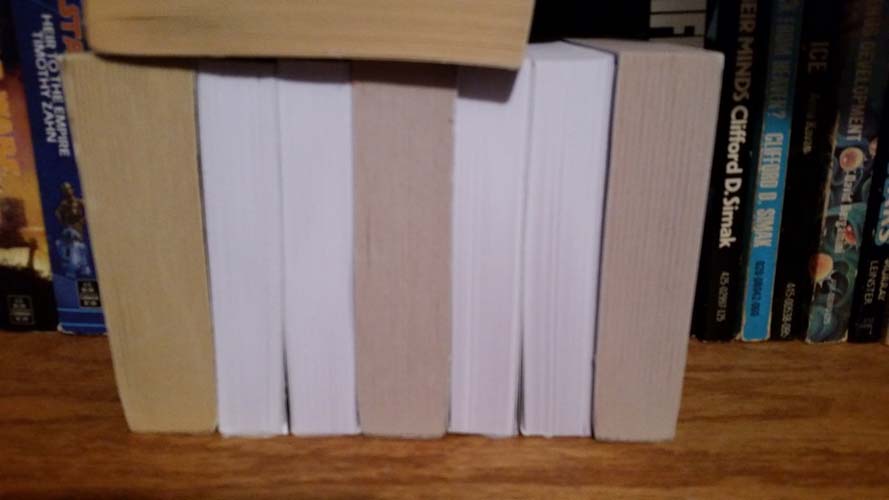
I also bought a HFS heavy duty paper cutter from amazon.com for only about $100. This baby will cut through an entire book no problem and give you nice clean edges. First I cut 7/8 inch off the tops and bottoms of the pages. Then I cut the pages in half, straight down the middle. This leaves you with two stacks of pages that I have to stack together by hand. It’s tedious, but it does give me a chance to make sure that all the pages are there and in order. After the book is arranged in a stack, I cut the left and right sides. Note: I usually cut a little more off the right side so that my readers don’t have to stretch the book open too hard just to see the words near the spine.
4.3 Cutting Pages in Half

4.4 Arranging the Stack
4.5 Wide Stack
4.6 Finished Stack
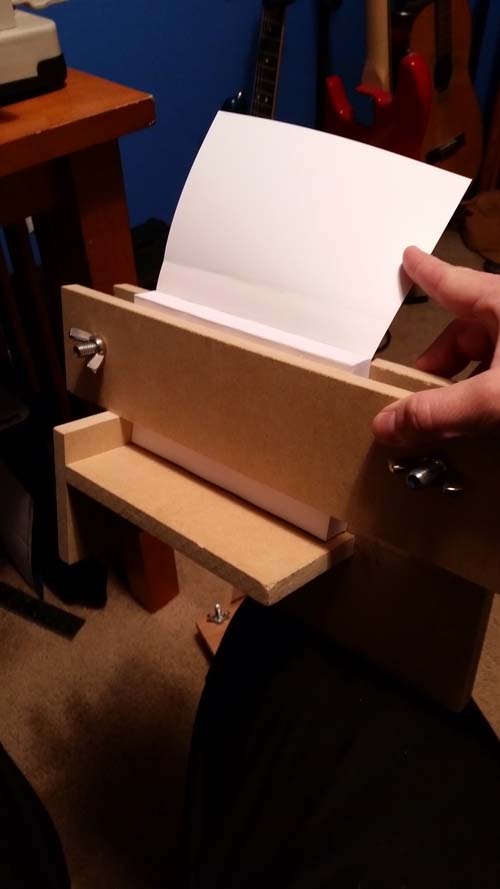
5.1 Pages & Cover in Jig

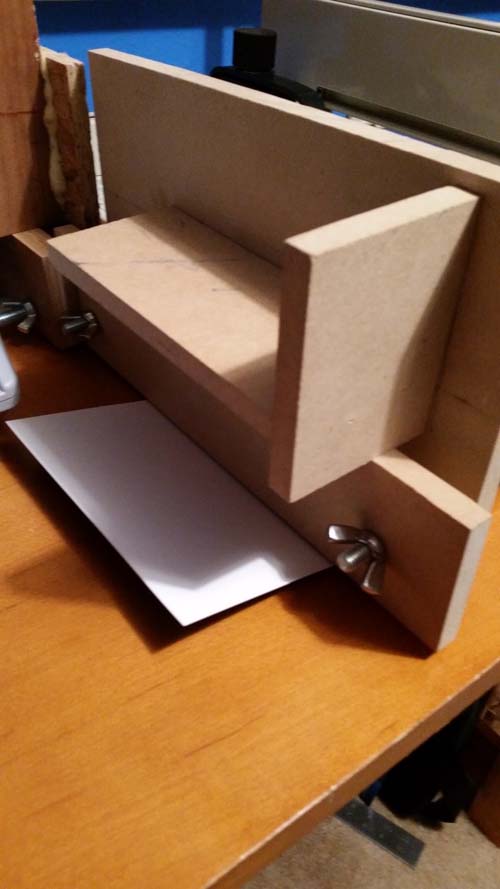
5.2 Gluing the Spine
5.3 Let it Sit Flat
Step 5: The Jig and the Glue
With a ton of help from www.diybookbinding.com I built my own book binding jigs out of scrap wood, gorilla glue, bolts, and wing nuts. A book-binding jig is basically a wooden frame that holds your pages together and tightens them down for the gluing process. I insert my stack of pages and the front cover in the book-binding jig, and make sure they’re flat and straight. Then I use Elmer’s Tacky Glue to glue down the cover to the spine. Tacky glue is nice because it’s cheap, you can get it at any craft store, and it’s flexible. Don’t use anything like Gorilla Glue for the spine because it gets brittle and cracks. Then I flip the whole jig over and let the glue dry on a flat surface for about 6 hours. I usually take the books out and put them on the shelf for another 18 hours after that just to make sure.
5.4 Let it Sit for 18 hours
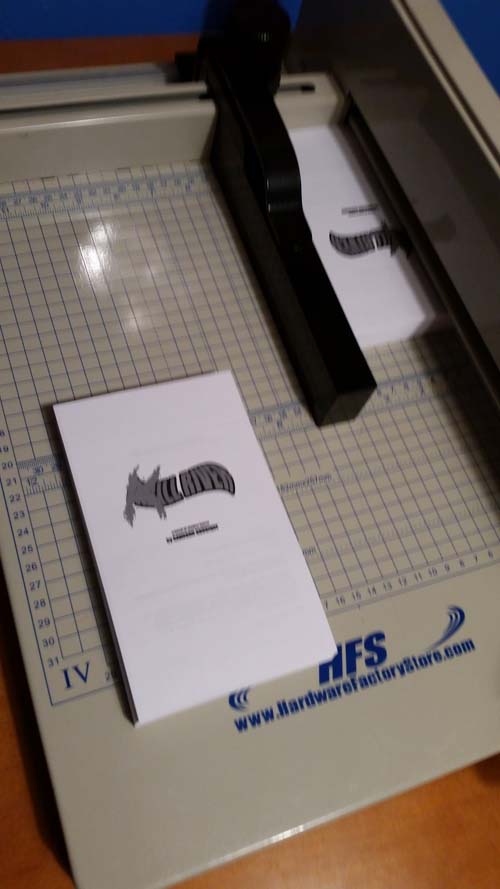
6.1 Final Trim
Step 6: Final Trim
The next day, I’ll give the books a final trim on the right side, and a light trim from the tops and bottoms and voila, a finished paperback.
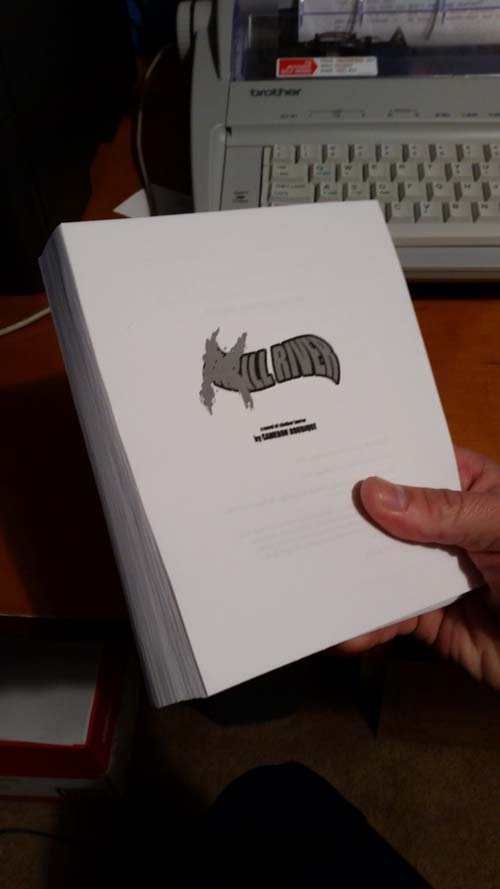
That’s basically it. I make all my books from home. I wish I could tell you the process was easier, but it saves me a ton of money. Instead of having a company print out 5000 copies for $6 per copy, I can make as many as I want for only $3 per copy. And if someone finds a typo, I can fix it easily and all future books won’t have it. Hopefully, this didn’t intimidate anyone into thinking that they couldn’t do this. It’s kind of a complicated process, but keep in mind I knew nothing about this stuff less than six months ago. Also I’m always open to answer any questions through email about the process. Thanks for reading and hopefully I can open up some options for self-publishing authors who want more than just an ebook.
Cameron

